I think it is impossible to be Iranian and not have a deep love for Albaloo, Sour Cherries. There are many types of food that take me back to my childhood in Iran. I have vivid memories of being super excited when the cherries were finally ripe and ready to be picked from the tree in my grandmother’s backyard.
I experience that same excitement nowadays when I see sour cherries at the Persian Market. I don’t care how much they cost, I buy them and enjoy them for the short period that they are available during this time of the year.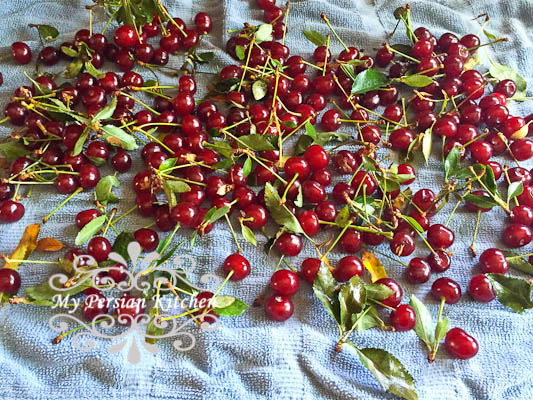
Speaking of Sour Cherry trees, last year when I visited Paradise Nursery I learned that growing your own tree is fairly easy. In fact, since sour cherries don’t need cold weather during their dormant months, they can be easily grown in places like Southern California, where we don’t really have cold winter months. I knew right then and there that owning a Sour Cherry tree was a must in my future!
Now onto today’s recipe. This is certainly a case of East Meets West. This pie can be somewhat labor intensive because of the time it takes to pit the cherries, but the end result is worth the effort! I have to share that I have a couple of firm beliefs about Sour Cherry Pie:
1. You must use fresh cherries. Hands down they taste a million times better than the ones out of a jar.
2. Sour Cherry Pie must be tart, which means using a small amount of sugar.
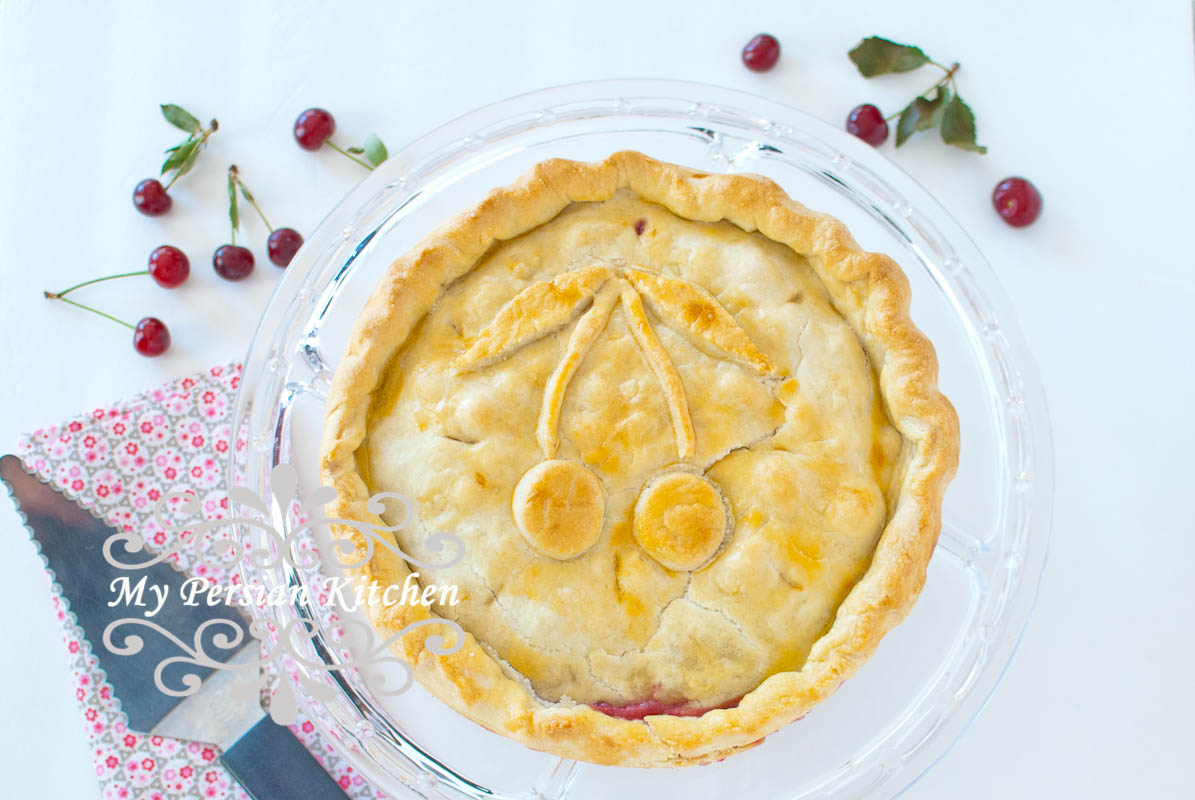
At some point in my life I will master the art of making decorative pie crust edges; however, today all I have to say is that the cherry decoration on this pie is: everything.
Ingredients
Dough
2 cups flour
1/2 tsp salt
1 tbsp sugar
1 1/2 stick unsalted cold butter
1/2 cup ice cold water
1 egg
Filling
2 lb sour cherries
1/2 cup sugar
2 tbsp corn starch
1/4 tsp salt
1 tsp vanilla extract
1 tsp lemon juice
1 tbsp butter
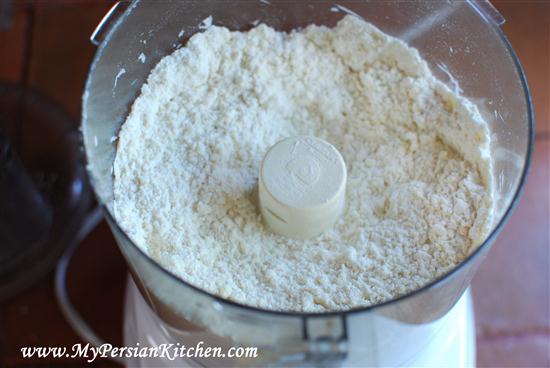 Before you being, place water for the dough in your freezer. While the water gets ice cold, in a food processor combine flour, salt, and sugar. Pulse a few times to combine. Then removed from fridge, cut into small cubes, and add to the dry ingredients.
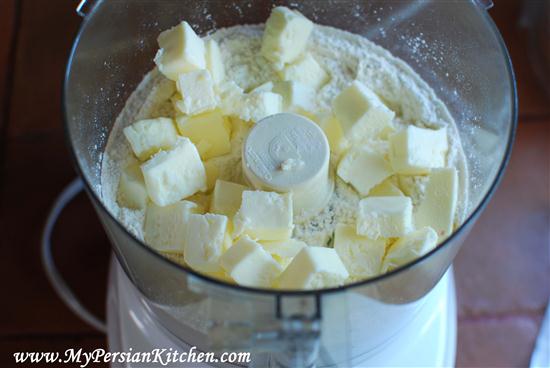 Pulse a few times until it all looks like a coarse meal.
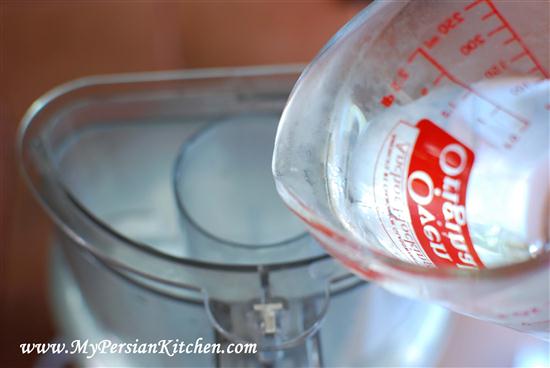 Remove water from the fridge and slowly add to the rest of the ingredients while pulsing. Add enough water until the dough comes together. Some days you might end up using only 1/3 of a cup of water while other days you may need 1/2 cup. It all depends on the weather. Don’t panic, just make sure your dough is not too wet.
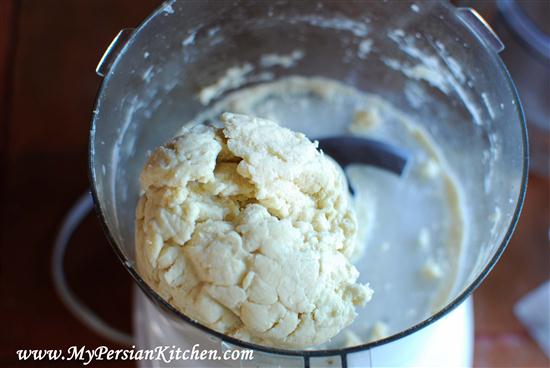 Once the dough is ready it’ll all come together into a ball. Make sure that the dough is not too wet.
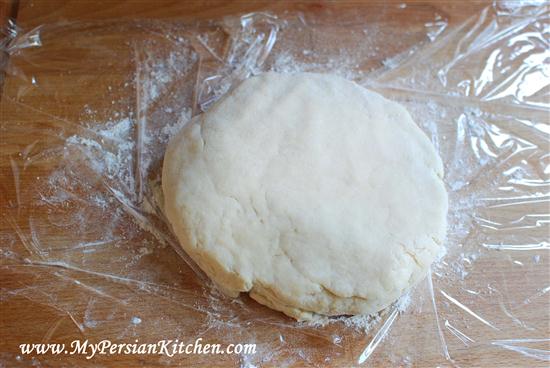 Remove dough from food processor. Take 2/3 of the dough and work into a disk, then take the remaining 1/3 and work into another disk. Place both dough disks in separate plastic wrap and refrigerate for at least one hour.
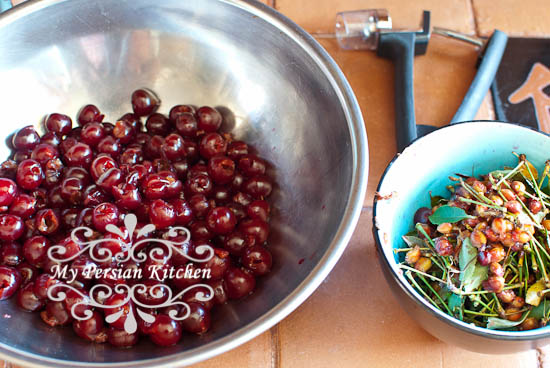 When ready to bake pie, remove pits from cherries.
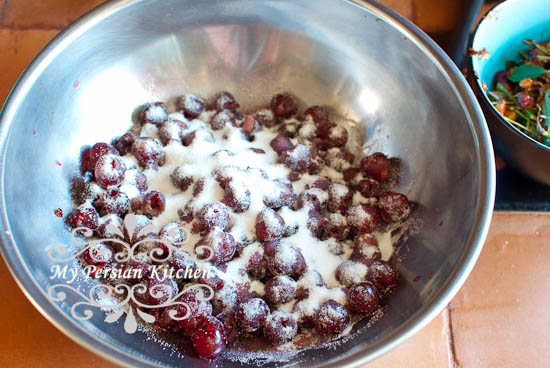 Add sugar, salt and corn starch then mix well.
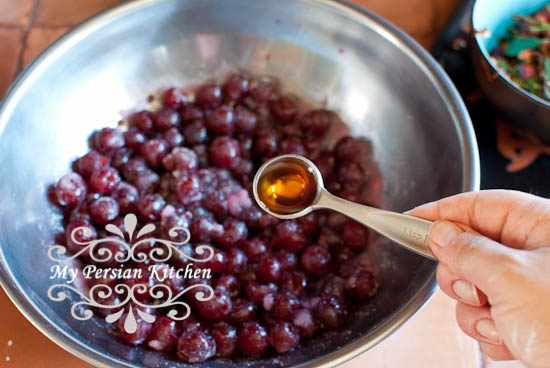 Add vanilla.
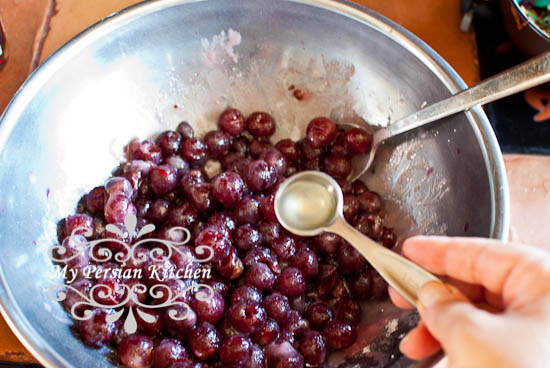 Add lemon juice
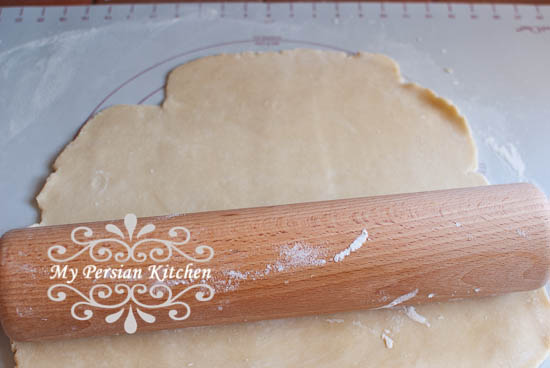 Take the 2/3 disk of dough and roll out to fit a shallow 8 or 9 inch pie dish.
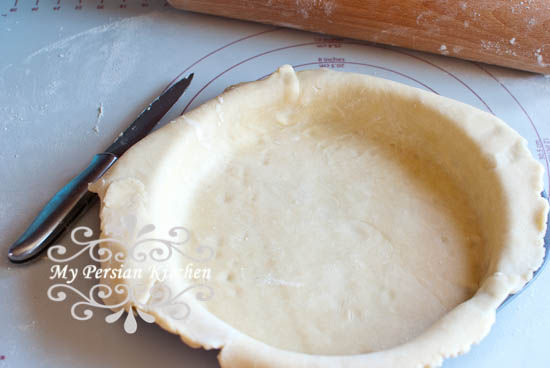 Gently place the dough in the pie dish. Carefully press edges down.
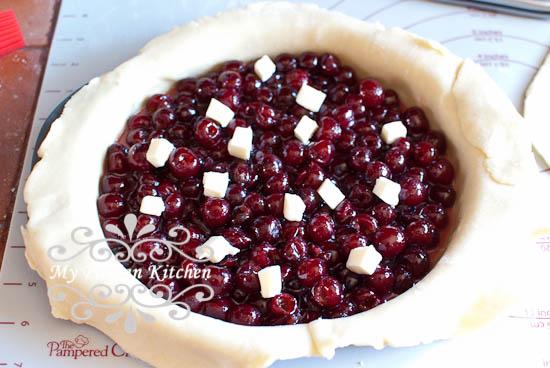 Add the cherries and place small cubes of butter all over.
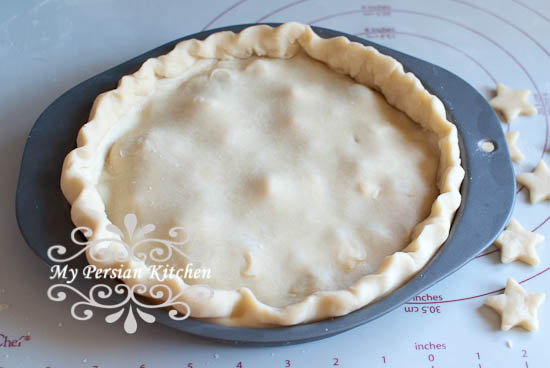 Roll out the 1/3 disk and place on top of the cherries. Remove extra dough from edges. Seal the edges with your fingers. Bring the extras together and roll out. Then cut out two circles, two long stems, and two leaves to create the cherry decoration on top.
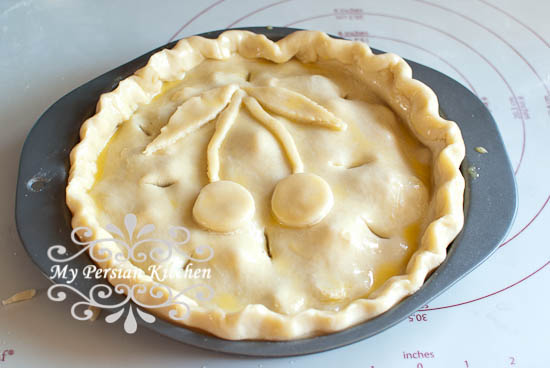 Brush the top of the pie with egg wash. Gently position the cut out pieces for the cherry decoration on top. Brush with egg wash. Create 8 small cuts on the top of the dough. Bake at 425 for 10 minutes. Then lower temperature to 350 and continue to bake for 30 minutes longer until the top of the dough is golden. If you have a Non-Stick Pie Crust Shield
Affiliate link included in post.



June 19, 2015
I enjoyed reading your post! The cherry tart sounds so delicious!
June 20, 2015
Thanks. I love this recipe. I will try it as soon as possible.